The Decorations Came Down. Why Did the Paint Come With Them?
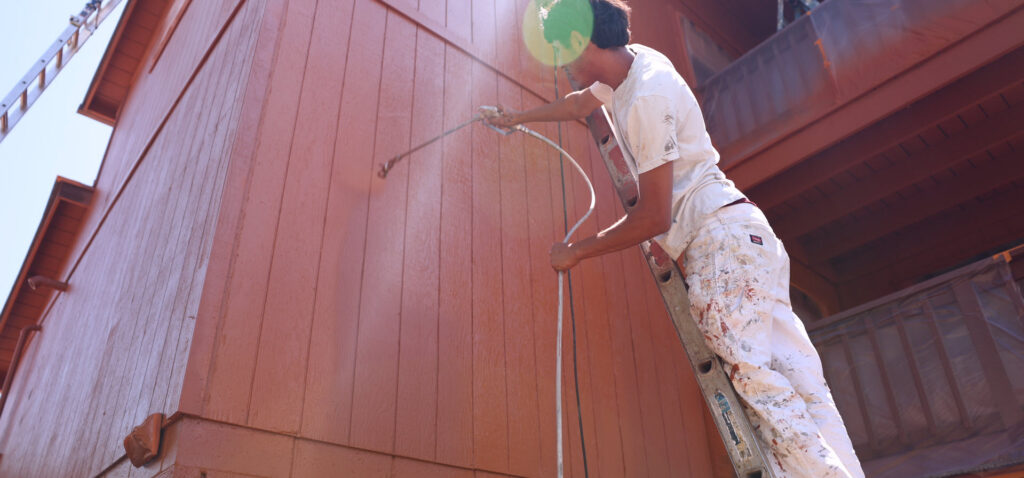
The Halloween decorations looked great. Taking them down? That’s where things got interesting.
One adhesive hook, one quick pull, and suddenly you’re holding a little piece of your wall color along with the plastic skeleton.
With Halloween wrapping up and another round of holiday decorating ahead, it’s a good time to talk about protecting painted surfaces—and what to do when a small decorating mishap leaves a noticeable mark.
At Sun Painting Company, we help Payson and Rim Country homeowners sort out whether a spot needs a simple touch-up or a more complete refresh.
Slow Down When Taking Decorations Down
Packing everything away can feel like a race. But adhesive hooks and strips deserve a little patience.
Follow the removal instructions for the specific product you used. For many Command products, that means gently holding the base and slowly stretching the adhesive tab straight down along the wall. Pulling the hook outward is a different motion and can damage the surface.
Before hanging the next round of decorations, check the product’s approved surfaces, weight limits, and instructions for use on recently painted walls. Different products have different requirements.
A few minutes with the directions can save you from a repair you weren’t planning.
A Matching Color Doesn’t Always Mean a Matching Touch-Up
You found the old paint can in the garage. Problem solved, right?
Maybe. But a successful touch-up involves more than finding the color name.
Sherwin-Williams recommends matching the color, sheen, and texture. Using the same type of application tool as the original paint job also helps the repaired area blend with its surroundings.
That’s why a brushed patch on a rolled wall can still catch your eye, even when you’re using the original paint.
If you have leftover paint, keep the label information available when discussing the repair. Knowing the product and finish gives your painter a useful starting point.
Look at What Came Off Before Painting Over It
There’s a difference between a surface scuff and an area where paint—or part of the drywall’s paper facing—has pulled away.
Before reaching for a brush, take a close look at the damage. If the surface is torn, uneven, or still peeling, ask what preparation is needed before painting.
We can assess the area and explain the proposed repair. The goal is to address the damaged surface and leave a finish that fits the surrounding wall.
Sometimes One Wall Is the Better Project
A tiny touch-up isn’t always the least noticeable option.
If blending proves difficult, repainting the entire wall may provide a more consistent result. Sherwin-Williams identifies this as an option when a spot repair won’t blend successfully.
That doesn’t automatically mean repainting the whole room. Start with the affected area, consider the condition of the surrounding finish, and discuss the scope that makes sense.
If you’ve already been wanting to refresh that room, it’s also a chance to talk through the larger project.
Before the Next Decorations Go Up
If painting is on your list before the holidays, mention how you plan to use the space afterward—including anything you intend to hang on the walls.
Ask about the coating’s drying and curing requirements, and check the hanging product’s instructions before attaching decorations to fresh paint. Plan the schedule around both.
You’ll also want to discuss availability early rather than assume a project can fit a particular gathering or deadline.
Let’s Take a Look at That Spot
A decorating mishap doesn’t have to become something you stare at every time you walk down the hallway.
Whether you need help evaluating a damaged area or you’re ready to refresh an interior space, Sun Painting Company can help you plan the next step.
Call (928) 474-3929 or visit SunPaintingCo.com to request a quote.